One of the first dishes I remember making in my 8th grade Home Ec class was coffee cake. This Barefoot Bloggers recipe, selected by Gwenn of Cooking in Pajamas, brought back these fond memories and reminded me of why I love coffee cake. This coffee cake is crumbly with a ribbon of cinnamon streusel running through the middle of the cake as well as crowning the top. I almost skipped the glaze for fear of it being overly sweet with the maple syrup and confectioners’ sugar, but the glaze is a perfect topping that complements the delicate flavor of the cake. Delish!

Ingredients
12 tablespoons (1 ½ sticks) unsalted butter at room temperature
1 ½ cups granulated sugar
3 extra-large eggs at room temperature
1 ½ teaspoons pure vanilla extract
1 ¼ cups sour cream
2 ½ cups cake flour (not self-rising)
2 teaspoons baking powder
½ teaspoon baking soda
½ teaspoon kosher salt
For the streusel:
¼ cup light brown sugar, packed
½ cup all-purpose flour
1 ½ teaspoons ground cinnamon
¼ teaspoon kosher salt
3 tablespoons cold unsalted butter, cut into pieces
¾ cup chopped walnuts, optional
For the glaze:
½ cup confectioners' sugar
2 tablespoons real maple syrup
Directions
Preheat the oven to 350 degrees F. Grease and flour a 10-inch tube pan.
Cream the butter and sugar in the bowl of an electric mixer fitted with the paddle attachment for 4 to 5 minutes, until light. Add the eggs 1 at a time, then add the vanilla and sour cream. In a separate bowl, sift together the flour, baking powder, baking soda, and salt. With the mixer on low, add the flour mixture to the batter until just combined. Finish stirring with a spatula to be sure the batter is completely mixed.
For the streusel, place the brown sugar, flour, cinnamon, salt, and butter in a bowl and pinch together with your fingers until it forms a crumble. Mix in the walnuts, if desired.
Spoon half the batter into the pan and spread it out with a knife. Sprinkle with ¾ cup streusel. Spoon the rest of the batter in the pan, spread it out, and scatter the remaining streusel on top. Bake for 50 to 60 minutes, until a cake tester comes out clean.

Let cool on a wire rack for at least 30 minutes. Carefully transfer the cake, streusel side up, onto a serving plate. Whisk the confectioners' sugar and maple syrup together, adding a few drops of water if necessary, to make the glaze runny. Drizzle as much as you like over the cake with a fork or spoon.

 For my cheese platter, I wanted to have an interesting selection of a variety of flavors, so I chose cheeses made of goat’s milk, sheep’s milk, and cow’s milk. The
  Source: Chicken, Spinach, and Potato Hash, Everyday Food, June 2010
 Source:
 Source:
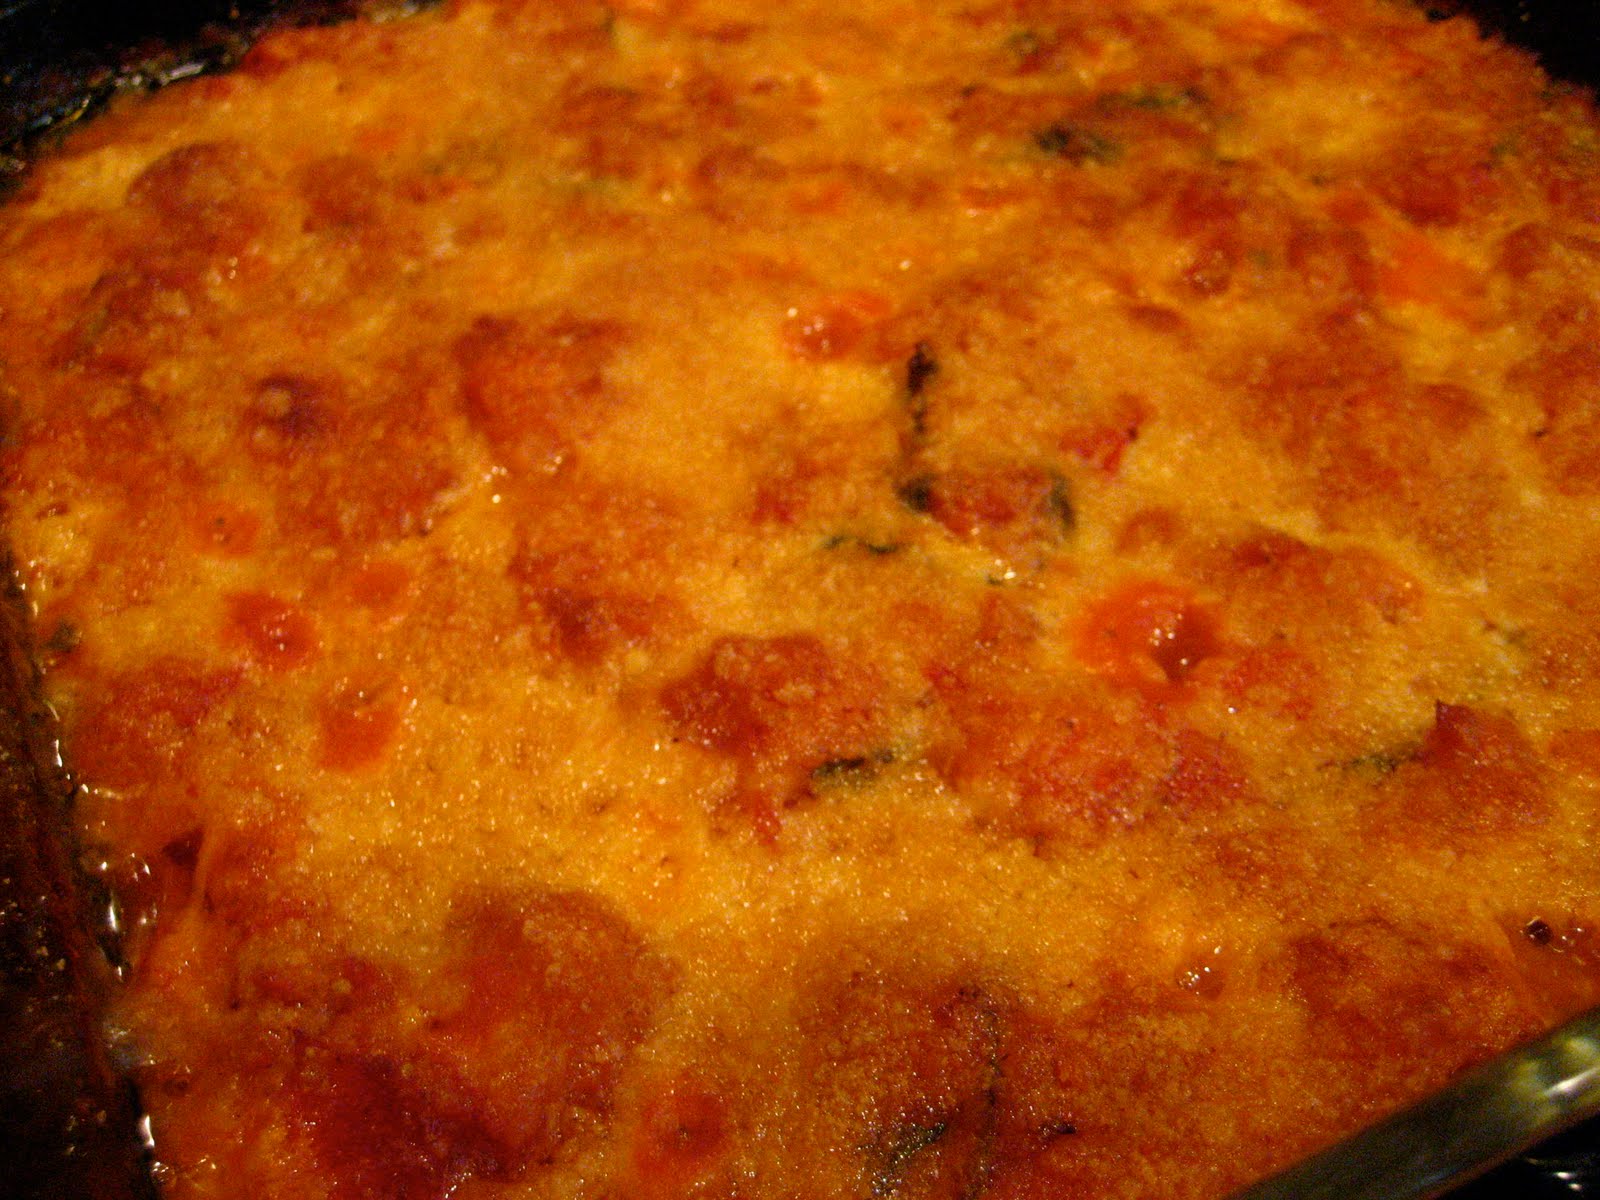

 Source:
  Adapted from:


 Source:


 Source: Sautéed Shrimp with Arugula and Tomatoes, Everyday Food magazine, June 2010